Now you have finally received your new PAWSOME set. You now want to take great pictures with your camera or cell phone right away. This post will help you take the best photos.
About Us
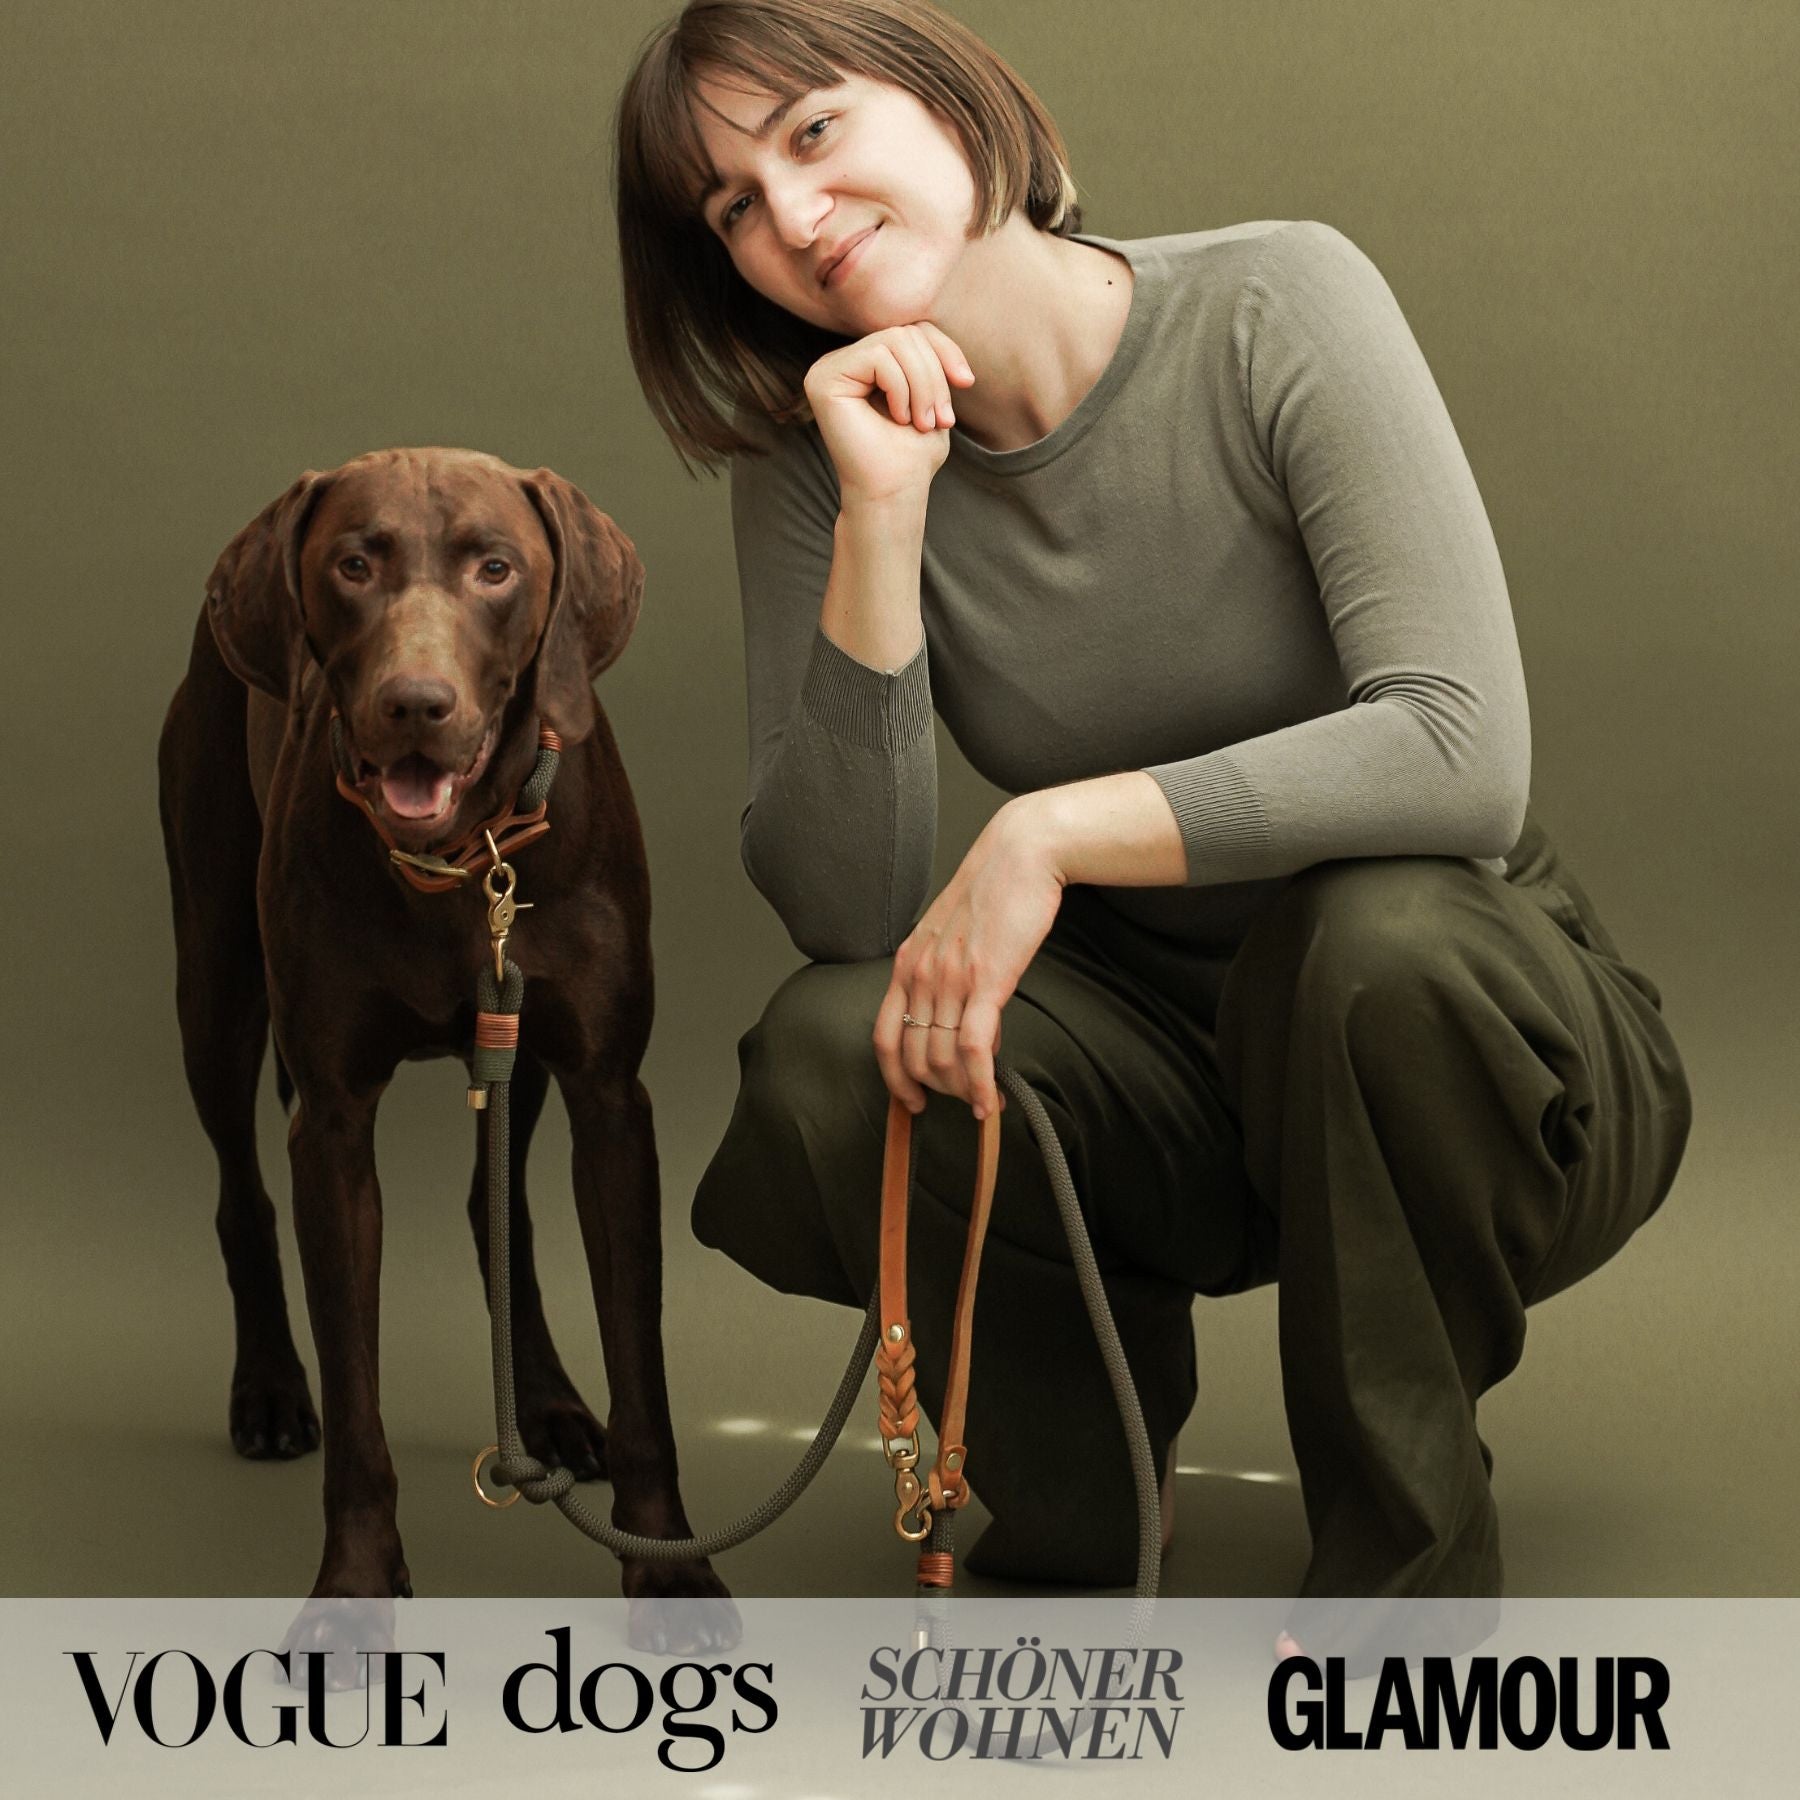
Hello, my name is Magda and I am a graphic designer and photographer. I recently turned my great passion into a career and photograph dogs in the big city under the name “ Stadtpfoten ”. For many dog owners, it is a big challenge to perfectly present their pet in front of the camera. For this reason, I am particularly pleased to be able to reveal a few tips and tricks to you in this article. This is how you get unique photos of your dog.

Photo credit: © Stadtpfoten, Magdalena Deutsch
1. Considerations before the shoot
What do I want to photograph?
Planning is already half the battle. A shoot like this is pretty tiring for our dogs. That's why it's good if you have a plan in advance so that you can keep the shoot as short as possible.
Before you have your dog in front of the camera, think about how you want to photograph him:
- What pose should your dog take at the location?
- Where should he sit/lie/stand?
- Should he look into the camera or not?
- Do you want to use specific items?
- etc.
It often helps if you look at lots of other pictures for inspiration.
The dream location for your dog pictures
Always visit the location where you want to take the photos at least once before your shoot without a dog. Be sure to take photos at the same time of day as you want to photograph your dog so that you can see how the light and shadows fall. Take a few test shots there. So you already know which corners are better and which are less suitable for your desired images.
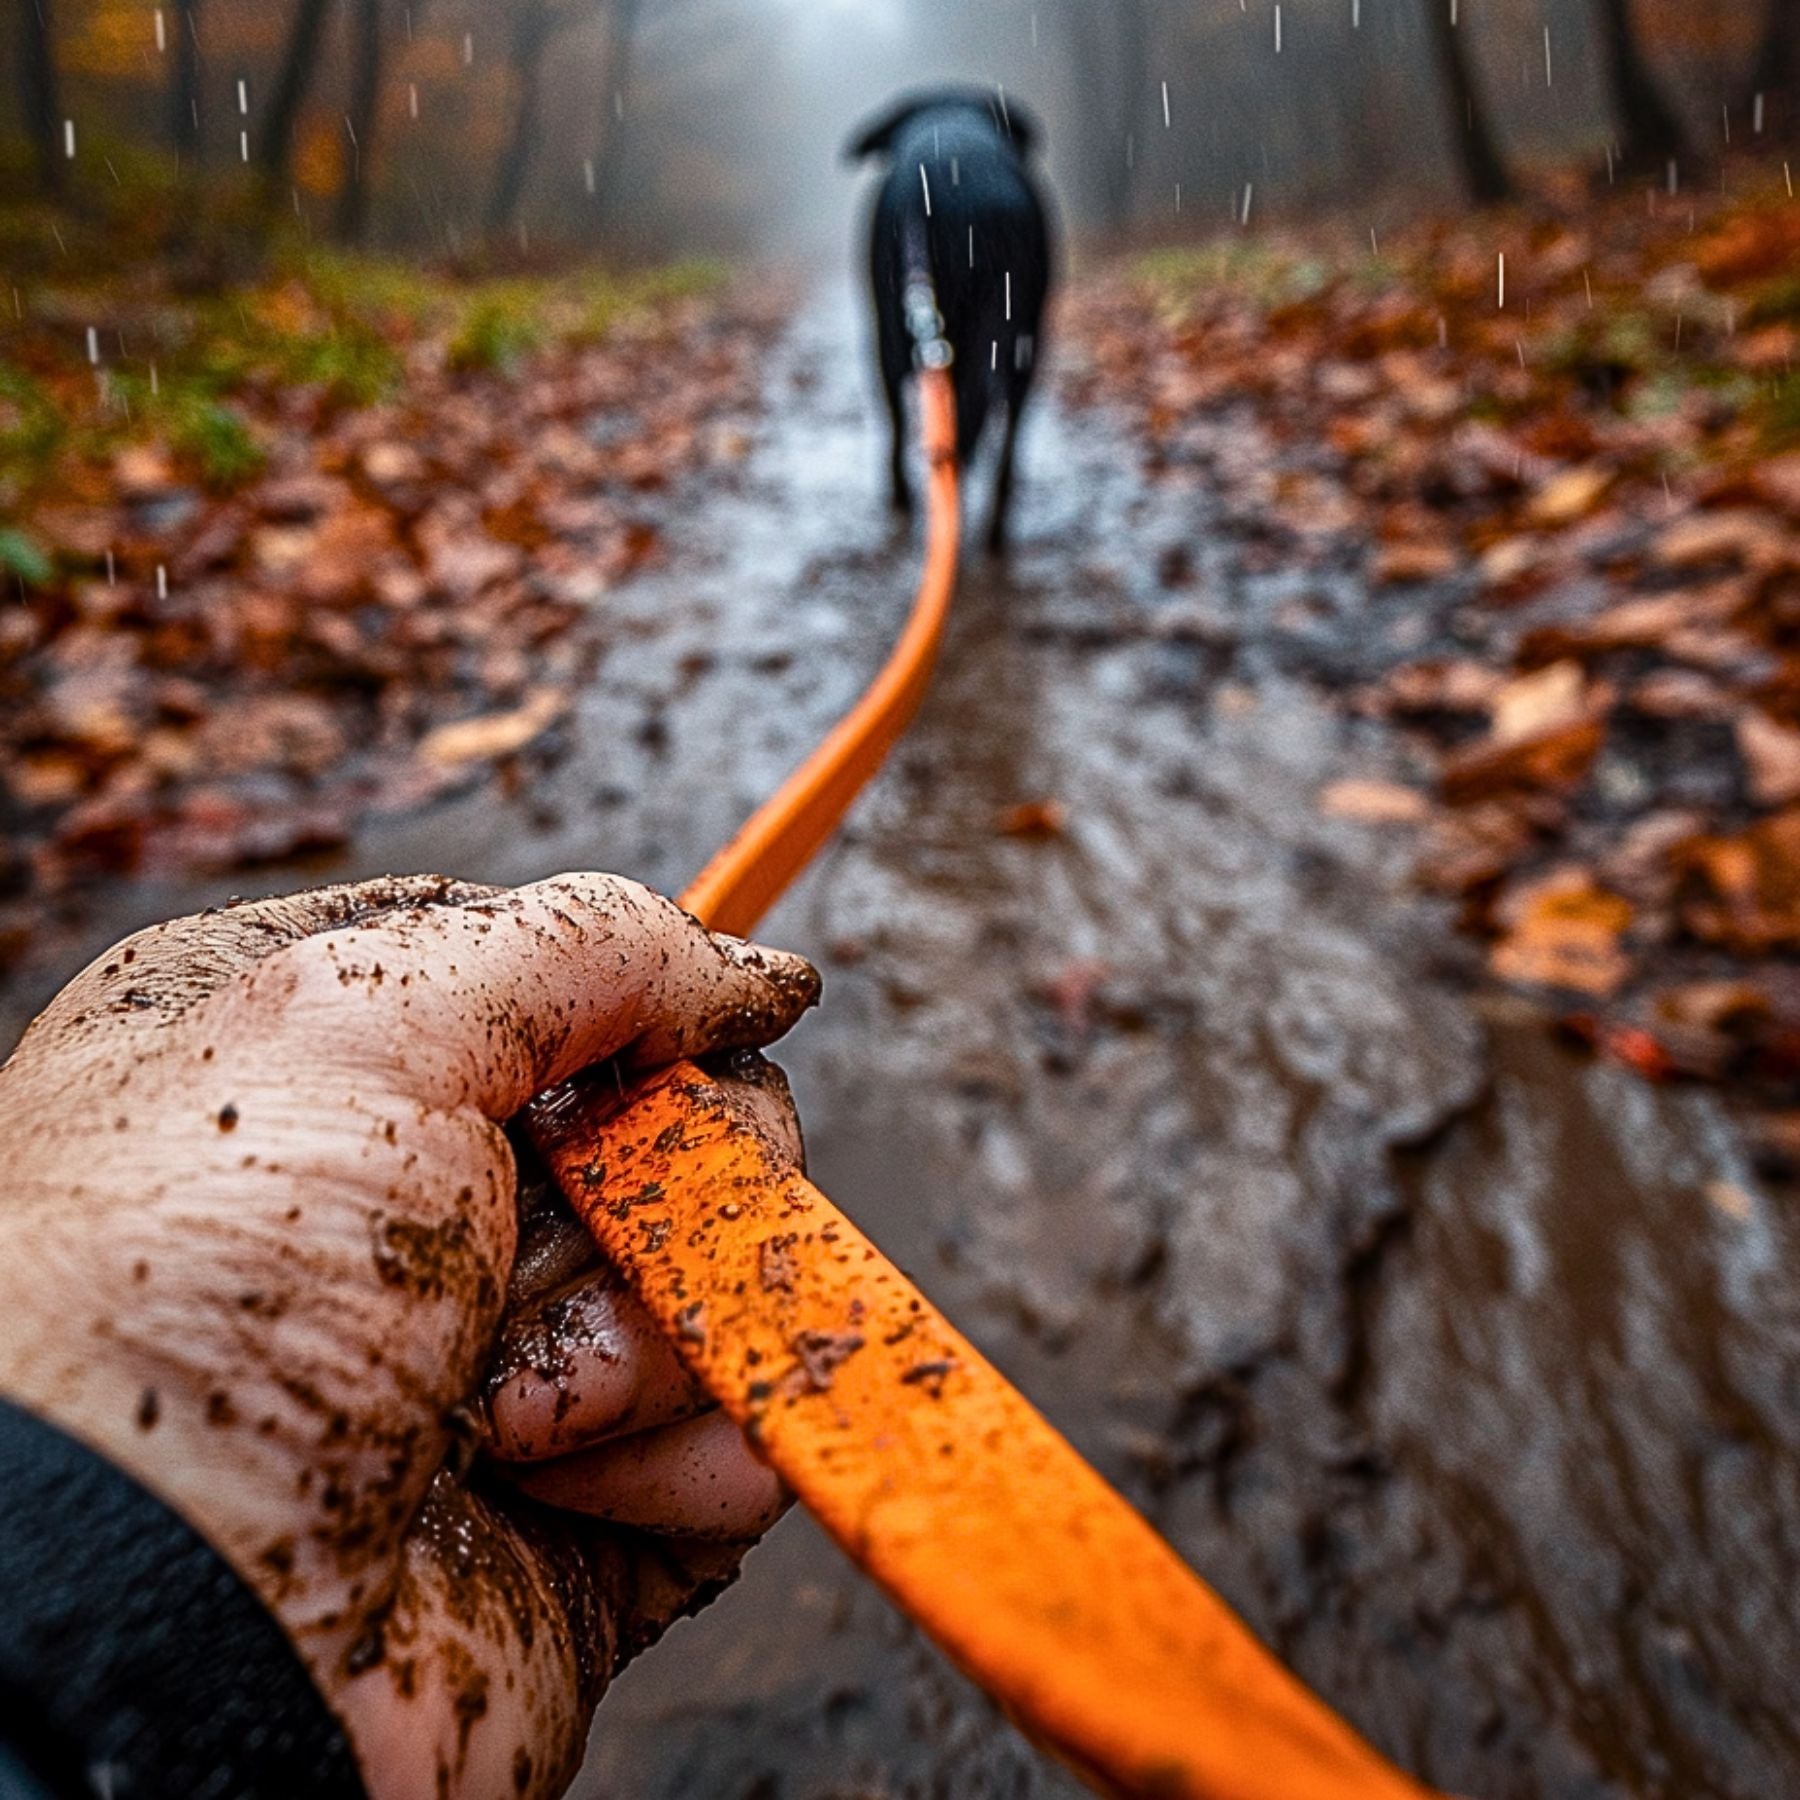
For very special photos, think about places that not everyone associates with dog photography. It doesn't have to be the sunflower field at sunset. Why not even a shoot in front of an old factory building? The more unusual the location is, the more your pictures will stand out from all the others.
If you're taking photos in a new place that your dog doesn't know, take your four-legged friend for a walk before taking the first photo. This way you can show him the location and he has the opportunity to sniff everything. So that your darling has a lot of good feelings, you can also play with him. Before the photo shoot or as a break in between. The best way to do this is to use a great toy, like a throwing ball.
Best time of day for dog photos
The time of day is very important, especially for outdoor shoots. You find the best light in the morning at sunrise and in the evening when the sun is low, just before sunset. However, a cloudy sky is ideal. Here you get a particularly gentle and soft light and don't have to struggle with harsh shadows.

Photo credit: © Stadtpfoten, Magdalena Deutsch
2. Choose the right equipment & camera settings
Lens focal length
Let's start with the choice of lens. There are two important numbers on every lens: the focal length (e.g.: 35mm, 50mm, 85mm or 24-70mm for zoom lenses, etc.) and the light intensity, which indicates the smallest possible aperture (e.g.: F1. 4, F1.8 or F2.8, etc.).
The focal length indicates the image section. The smaller the number on the lens, the larger your image section is. For example, with a 24mm lens you have a lot of space around your subject. In contrast, the image section with an 85mm lens is very small. Using the image example you can see how the focal length would affect the same subject from the same position:
Which lenses are particularly suitable now? Well, I would say that's a matter of taste. It is often said that wildlife photography only uses telephoto lenses - I hardly ever do that. My “favorite focal length” is a 55mm prime lens. From time to time I also use 85mm for beautiful portraits. A telephoto lens is an advantage for wild animals because they need to be photographed from a distance. This is not necessary with dog photography because we are much closer and can interact with the dog.

Photo credit: © Stadtpfoten, Magdalena Deutsch
Camera settings: aperture, shutter speed, ISO
You've now planned your shoot, selected the right focal length, positioned your dog - now it's time to start shooting. You have to consider three factors:
The aperture
It is responsible for the so-called depth of field. The smaller the aperture number, the wider the aperture is open and the less depth of field you get. This means: With a shallow depth of field, you get a blurred background and possibly foreground. For example, if you choose an aperture of 1.8, your dog's eyes will be nice and sharp and the snout will be blurrier. The background is completely blurred. On the other hand, with an aperture of 8 you have significantly more depth of field. The so-called bokeh, i.e. the blurred background, disappears and you can see more details in the background.
If the aperture is opened further, more light comes into the camera. To avoid getting an overexposed image, you have to work with the second factor, the shutter speed.
The shutter speed
The shutter speed is usually given in tenths and hundredths of a second and determines how long light enters the camera. When photographing dogs, you should choose the fastest shutter speed possible so that your images are not blurry. In addition, you 'freeze' your dog's movements.
The ISO
The last factor is the ISO value. To put it simply, you can use this to additionally brighten your image. However, the value should be as low as possible. Otherwise, the images can become very grainy above a certain value and appear less attractive. In good light outdoors you will almost always get by with the lowest value (ISO 100).
Focus & Record
Once you have everything set up, you need to choose your focus point, i.e. the sharpest point in the image. When photographing dogs, this is usually on the eyes. This way you really highlight the look. Of course, there are exceptions in which you want to particularly emphasize the tip of your nose. That's why you focus there, but in most cases it's the eyes.
Dogs often change their facial expressions very quickly, which is why it is an advantage to take photos in series. This increases your chance of getting the perfect picture and you don't have to put your dog in the same pose again and again.

Photo credit: © Stadtpfoten, Magdalena Deutsch
3. Choose a unique composition
There are numerous ways to make your picture exciting. I would like to give you just a few for inspiration.
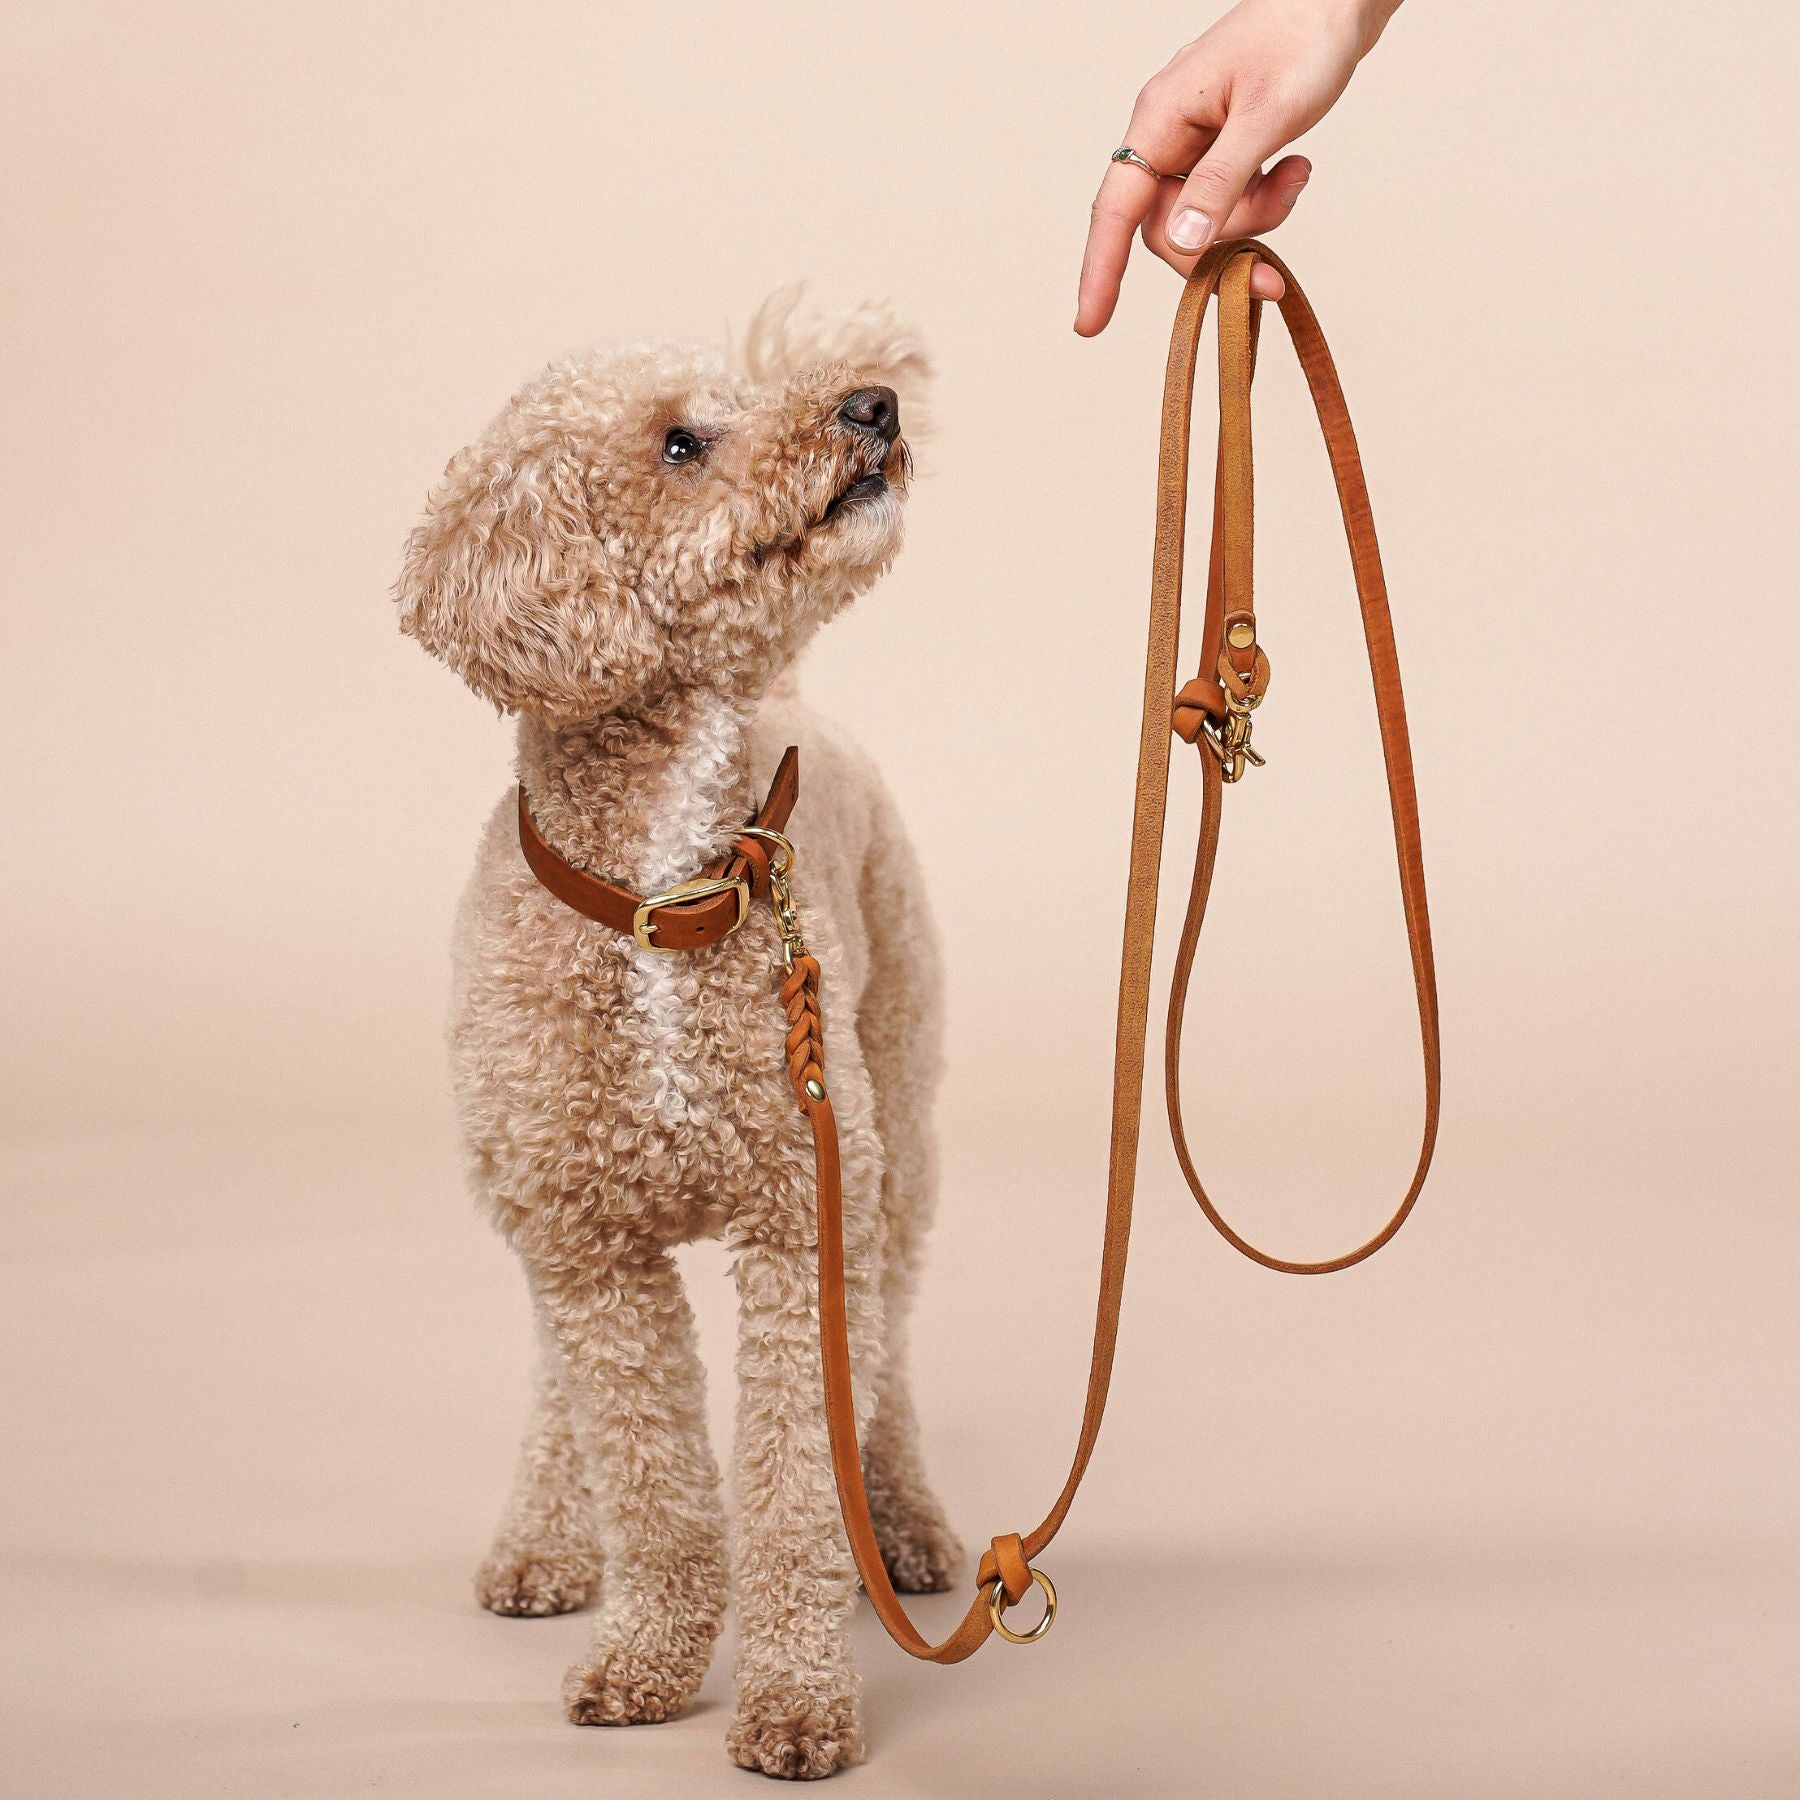
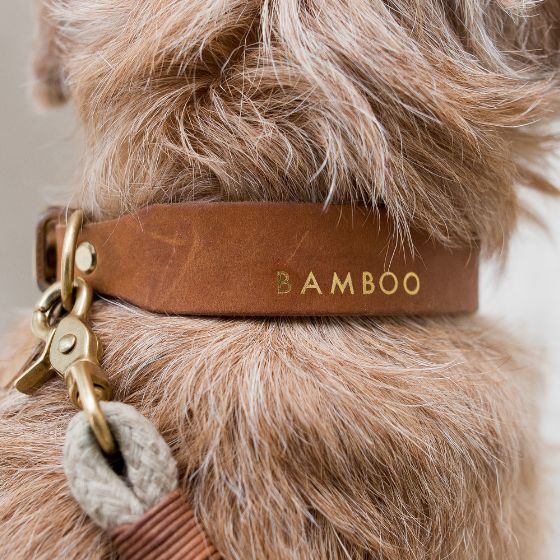
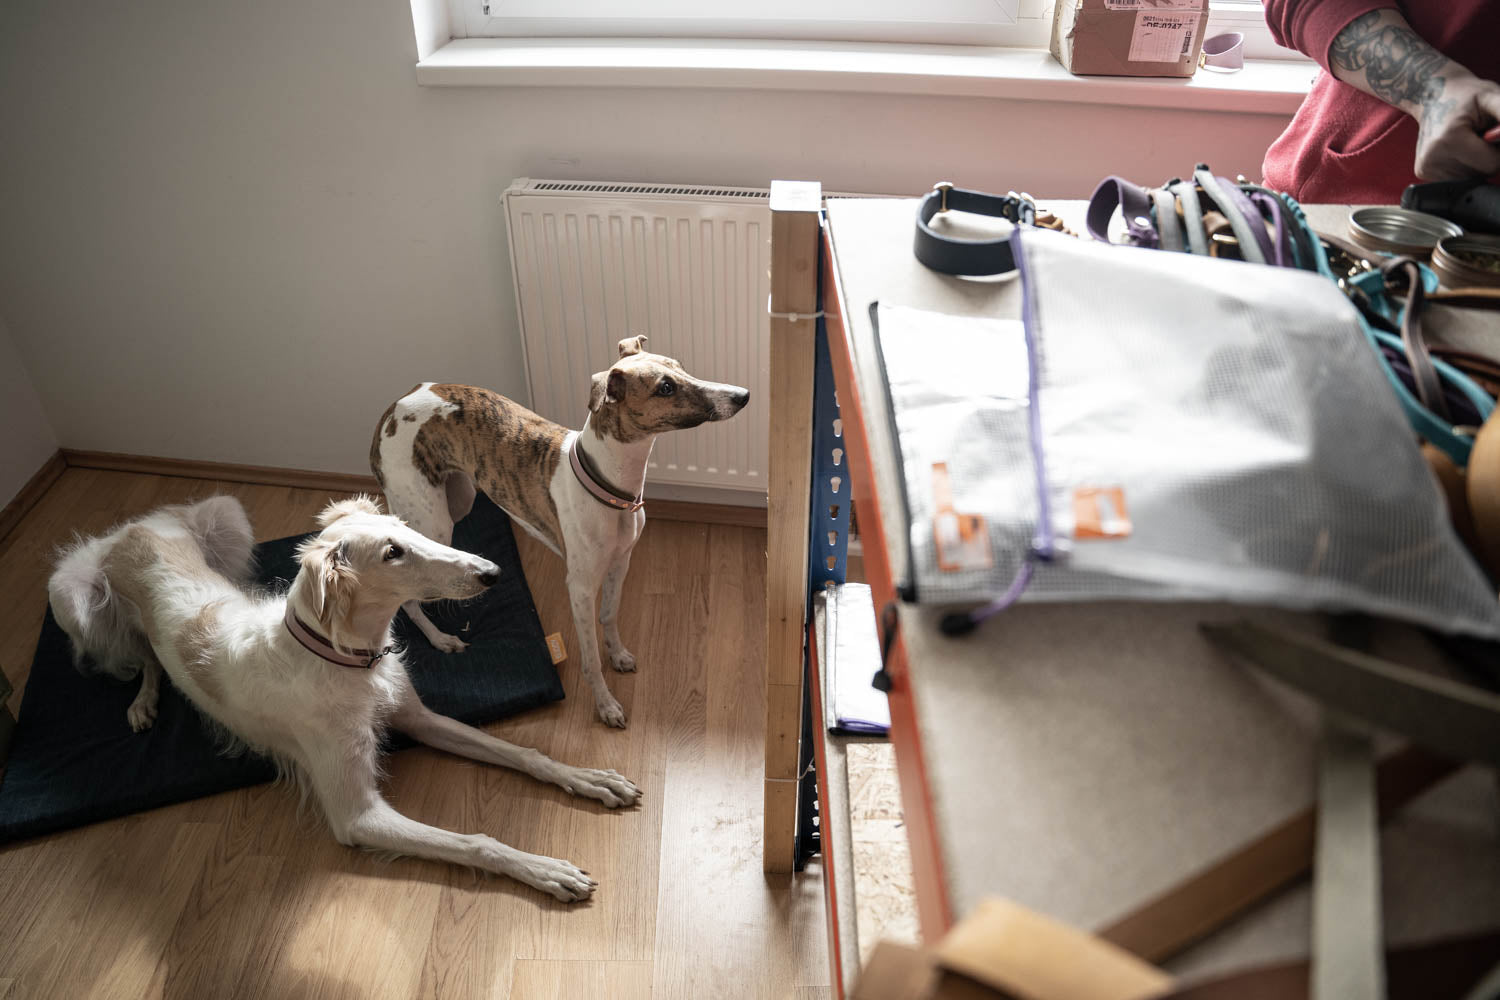
tone in tone
Tone on tone is a method that I particularly like to use. Place a very light-colored dog in front of light-colored stone walls or pillars, so the picture looks harmonious to the eye. You can further support this color scheme with a collar in the same tone.

Photo credit: © Stadtpfoten, Magdalena Deutsch
Image detail: rule of thirds & golden ratio
Newbies to photography often tend to place their subject directly in the middle of the picture. For certain subjects this is perfectly fine. But if you just do it like that, it can quickly become boring over time. Try to move your subject a little to the edge. Make sure that your dog is looking into the picture
A good aid when composing an image is the golden ratio or the so-called rule of thirds. The rule of thirds is basically a simplification of the golden ratio. The rule of thirds involves dividing the image into 9 equal parts by 4 lines. It is best to place your face or eyes at one of the intersection points of these 4 lines. If a horizon or a floor edge is visible in your image, place that edge on one of these lines. Not directly in the middle of the picture. This ensures a harmonious picture.
The right perspective
If you want to photograph dogs, you have to be aware of one thing: you spend a lot of time lying on the ground in order to get to the dog's eye level. This perspective is a good starting point for your photos. Of course, it is never a mistake to experiment and try out all possible perspectives: If you photograph your dog from above, you support the “childish pattern” in which he looks small and cute.

Photo credit: © Stadtpfoten, Magdalena Deutsch
You can show the same dog elevated and proud by placing him elevated and photographing him from below. The key to success is definitely movement: never stand still in front of your dog with your camera. Don't just photograph it from a standing position - that way all photos will look the same. Vary your position and perspective of the dog. And if in doubt: get down on the floor - at eye level.

Photo credit: © Stadtpfoten, Magdalena Deutsch
4. Important tips for the day of the shoot
The dog's attention and the correct pose
Personally, I like to keep photos as natural as possible. I don't like putting a dog in unusual poses and tricks throughout the entire shoot. The whole shooting process is stressful enough for our four-legged friends. At least he should be able to be a dog during that time or at least not have to concentrate on difficult poses.
Often you have to be flexible.
If your dog doesn't want to lie down in a certain place - move on. After all, you would be able to tell from the photos that your dog isn't feeling well at the moment.
Of course, you should keep your dog happy and reward him again and again. By the way, simple cheese has proven to be best here. Alternatively, you can also use super tasty treats.
There are simple tricks to direct your attention and gaze in the desired direction: Number 1 is the cheese again. Simply take it between two fingers and direct your gaze in the direction you would like.
You can also achieve cute pinched lip pictures by bringing the cheese close to the dog. Then immediately remove the hand with the cheese as soon as your dog tries to grab it. Number 2 are stranger. From singing, babbling, humming, hissing to whistling, everything is allowed here. This will give you a particularly curious look and often a sweet head turn directly into the camera.

Photo credit: © Stadtpfoten, Magdalena Deutsch
Patience and flexibility
Last but not least, probably the most important point: be patient. A dog is not a photo model or a stuffed toy that you just drop off and be fine. Your dog doesn't know what's going on and he too may be having a bad day or not in the mood. Therefore, take your time and make the shoot as calm as possible and without any pressure.
Don't get nervous if your dog doesn't want to do a certain pose. In this case, you have to be flexible and think of something new or just take what your dog offers you.
Take enough breaks in between and let the dog sniff, play with him or give him a cuddle. Depending on what he feels like. These breaks are particularly important for puppies and young dogs.
5. Always have fun and be relaxed
Finally, I would like to tell you that it is incredibly important to adapt to your dog. Observe him closely and react to his needs: Is he stressed, excited or fidgety? Put the camera away for now and calm him down. Is he insecure or afraid? Give him security. For example, let him sniff the camera, give him a cookie, etc.
The most beautiful pictures are taken with a happy and relaxed dog. The best way to achieve this is to remain calm and composed.

Photo credit: © Stadtpfoten, Magdalena Deutsch
And now: have fun trying it out and start taking photos!


Leave a comment
All comments are moderated before being published.
This site is protected by hCaptcha and the hCaptcha Privacy Policy and Terms of Service apply.